diy

The Great Gummy Bear Massacre

What started out to be a fun cooking time with the kids, ending in tears and heartache when bits and pieces of their hard-earned gummy bears were picked apart. This is why you should always read instructions twice. In my case, I should read them start to finish even one time.
Two of the three kids, love their supplement shots in the morning. Ten guesses which one has a differing opinion. I had pinned a recipe long ago when I was still lying to myself about being a Pinterest mom. I thought this would be such a great opportunity to share how great I am, as well as how versatile our Young Living stash can be.

False.

I cleaned the kitchen, I didn't use the rusted over measuring spoons, and I even bathed should I happen to get the perfect Instagram snapshot.

I burned myself nearly immediately. Honey is a hot s.o.b. when melted over an open flame.


We melted our ingredients, and I carefully took the saucepan over to pour our liquid into the mold. There is now a line of solidified NingXia/honey/agar agar (fancy gelatin) on my floor because the heat in the sucky thing just made the stuff fly all over. Where's the wine?

I made the damn things, put the mold into the refrigerator, and waited one hour.
You can get your gummy bear mold HERE.

Nothing. Still liquid-ish.

Hour two. Sort of firm, but like he could use some gummy bear Cialis.

Hour three. Good enough.

Call the kids down, and we start to peel.
Well, that was a head. 

Shit, there goes a leg.

That one split right down the middle.

I'm killing it. Literally.

The kids are now angry and teary. I have murdered their bears.

I run to the computer to look at the recipe. Oh. I used 1 tsp of agar agar. I should have used 4 tsp.
I am over it. Suck the bears out of the mold for all I care. We'll try again tomorrow.

Success.
Read my instructions twice. Don't be an asshat like me.

1c NingXia Red
4tsp agar agar powder (gelatin)
2 tsp honey
optional: 2-3 drops Grapefruit and Lime EO

Bring to a boil, add your EOs, drop into your molds.

Refrigerate 1 hour. 

J&Mo Design + a Hutch Reno | Sponsored Post

I'm not much for DIYing these days. I want to be Joanna Gaines, but really, I don't have her budget or her time. Work, kids, husbands, responsibility and crap get in the way of playing real life JoJo.

This project, however, I can do. I can take 2 days of feeding my kids Lunchables and fruit snacks with Paw Patrol on repeat to get this kind of thing done.

Here's the funny thing: now that I love my kitchen, we're moving.

Ain't that the way.

Now, if Annie Sloan chalk paint did not exist, this would never have happened. I definitely don't have the time to sit and sand a gigantic hutch down to it's raw wood. This only happened because of blessed Annie Sloan.

This hutch was gifted to me by my brother-in-law. I loved it, but the color was too dark for our kitchen. An easy $70 later and I had paint and wax and 2 whole days to work my magic.


The easiest part was painting. I took my Annie Sloan Paris Grey and did two coats on all surfaces. Waxing took longer, but once I figured out a wax on/wax off technique, she was perfect. All-in-all, this project took about 2 days to complete. I removed the glass doors to make it more open and look more farmhousey, and it is now my favorite place in the house.


The most perfect Welcome sign now sits front and center as people walk into our kitchen. It's handmade, and quite well-made. Clean lines, beautiful wood frame, and it's the perfect touch to welcoming people into our home. You need one. You do. I'm so glad I chose J&Mo Design for this sign because the colors could not be more perfect. And Melanie couldn't have been more wonderful to work with. Thank you for letting me brag on your signs and your beautiful work, Melanie!


Head over to J&Mo Design for all your Eclectic Home Decor needs! Tell Melanie I sent you! And follow her on Instagram for her newest creations!

No-Sew DIY Starbucks Cup Costume

If you're like me, you buy your Halloween costumes because you have no time to make your kids' costumes. However, when you cannot find a Starbucks cup costume for your child, you will go to great lengths to make it happen.

I don't sew. I don't craft. I do hot glue like a boss.


So, here it is. Making this super fun costume took about an hour minus rushing around when I realized I needed green paper for the straw and trying to find tights.


Supplies:
2 white poster boards
brown craft paper
off-white felt
green paper or poster board
white headband
hot glue


Directions:
1. Take your poster boards and make a large enough cylinder that your child can get it over their head to get in and out of the cup. Then, hot glue those seams.

2. Measure out how wide you'd like your sleeve to be, then be sure to cut your craft paper long enough to wrap all the way around. Hot glue the seam, as well as random dabs to keep it in place.

3. Cut a strip of your felt for straps. I folded these in 3rds and glued as I went.

4. Take your cup, place your child in the cup, and place the straps. Be sure to give them a little wiggle room. Mark where the straps need to go, take child out of cup, glue.

5. You are now ready for the whipped cream ruffles. I made 20- 9 in rounds with a glass bowl and cut. To make your ruffles, take one round, fold it in half and place one dot of glue in center. Fold in half again, another dot of glue. Now you can place your ruffles on the cup. Most of mine went between the two sheets of poster board. Keep the ruffles out of the armpit area. Hot glue. Boom. Whipped cream.


For your headband, take a paper towel roll and glue your green paper around it. Hot glue your straw to the headband. Take your whipped cream rounds and place around the base of the straw, making sure most of them are also glued to the headband to support it.

Finally, print the Starbucks logo and slap it on. I used green vinyl on white scrapbook paper in the CriCut, but printing out the logo will work just fine.


And there you have it! The cutest little costume you ever did see. The compliments on this costume were hilarious. Paired with her twin baristas, I'd say we won Halloween 2016. 

Dabbling


Weekend Bedroom Makeover

I started out this weekend like any other crazy, stressed out mom - with caffeine. Once the caffeine kicked in, ideas were swirling. We've taken the time to update the house & do new projects thanks to my Young Living income, and our room was one of the only rooms that has not been tended to. When we first bought this house, I had ZERO vision with what I wanted to do with it. We had no DIY skills and were overwhelmed with the task of making the space our own. Over time, we added touches to make it homier, but it wasn't until recently that we were able to afford to the big changes. 


I have wanted this wooden headboard for a couple of years now, but I felt so intimidated by the project. I did the Pinterest "research" and realized that if these chicks with power drills could do it, I probably could too. So, I measured, I researched, and I loaded my THREE children in the car and headed to Lowe's for supplies. Daddy works on the weekends, so my plan was to work all weekend and surprise him when he came home on Sunday evening. Best laid plans...


You may remember seeing this set-up. I painted the wall our bed is on a baby blue when we first moved in. No plans to make that a theme, but I wanted SOMETHING on the walls. So, I painted that random ass wall blue and the others an oatmeal color. Last Christmas, my in-laws made us this beautiful headboard, but again, we had no plans to do anything to make our room cohesive.


So, you want to build a headboard. It's easier than I thought it would be. Wood, screws, power drill, tape measure, pen, stain, (and I added roofing nails to the front just to make it look even more rustic).


Line up your boards in the order you'd like them to lay. I chose the sides with the most wood character to face out, and the ones that were a little less straight to go at the bottom. When you are choosing your boards at the store, lay them all out to be sure they don't bow up or down because those will cause your headboard to bow.


Decide how far apart your furring strips need to be for mounting to your wall.


Start screwing your nails into the furring strips.


Once you have finished, you are free to stain. Wipe down your wood to be sure there are no pieces of dirt or splinters on the face of it.

I stained each piece and let the stain sit for 2-3 minutes before wiping it off with a ratty old t-shirt I found it our mess of a basement.

Once I finished each board, I took extra stain to different places on the headboard and let it soak in to give the headboard a more rustic feel rather than a perfectly even stain.


Allow your stain to dry 24-48 hours before you add any extras like the roofing nails, and especially, before you hang it. 

I screwed in simple D-hooks on each of the furring strips and then had my husband help decide on placement.


Now we have a place that I am proud to show off AND happy to spend time in after just a quick weekend makeover!

Kitchen Makeover | Part 1

This is my kitchen. I have a ton of great space - lots of cabinets, HUGE walk-in pantry. I do not, however, have a cohesive theme. Recently, I painted our living room to 1. brighten up the space and 2. give it a fresh, clean look. This is exactly what I want to do with this space.


When I painted this space, I painted it to paint it. I thought these colors would make you want to eat. It has, clearly, worked for me in that respect. I painted the cabinets because I hated the orange cabinets that came with the house. The paint is now worn off in places and is chipped in others. Plus, it's such a beautiful space that doesn't need to be so dark.


So, what is my plan? To start, I will lighten the walls this weekend with a beautiful paint from Sherwin Williams. The plan is to work on sections at a time with the cabinets. I will start (at some point this winter) with the island and paint it Paris Grey. I'll work my way around the kitchen, and make the other cabinets Pure White. Once these elements are finished, I want to start adding things to finish off the space. I'd really like to find a thrifted hutch or buffet for that large, open wall space, add some steel and more wood in the decorations and maybe a personalized coffee cup wall hanger.


The bottom line is that I want to draw people into this space. I want it to feel open, homey, and complete. Stick around to see the stage 1 next week!

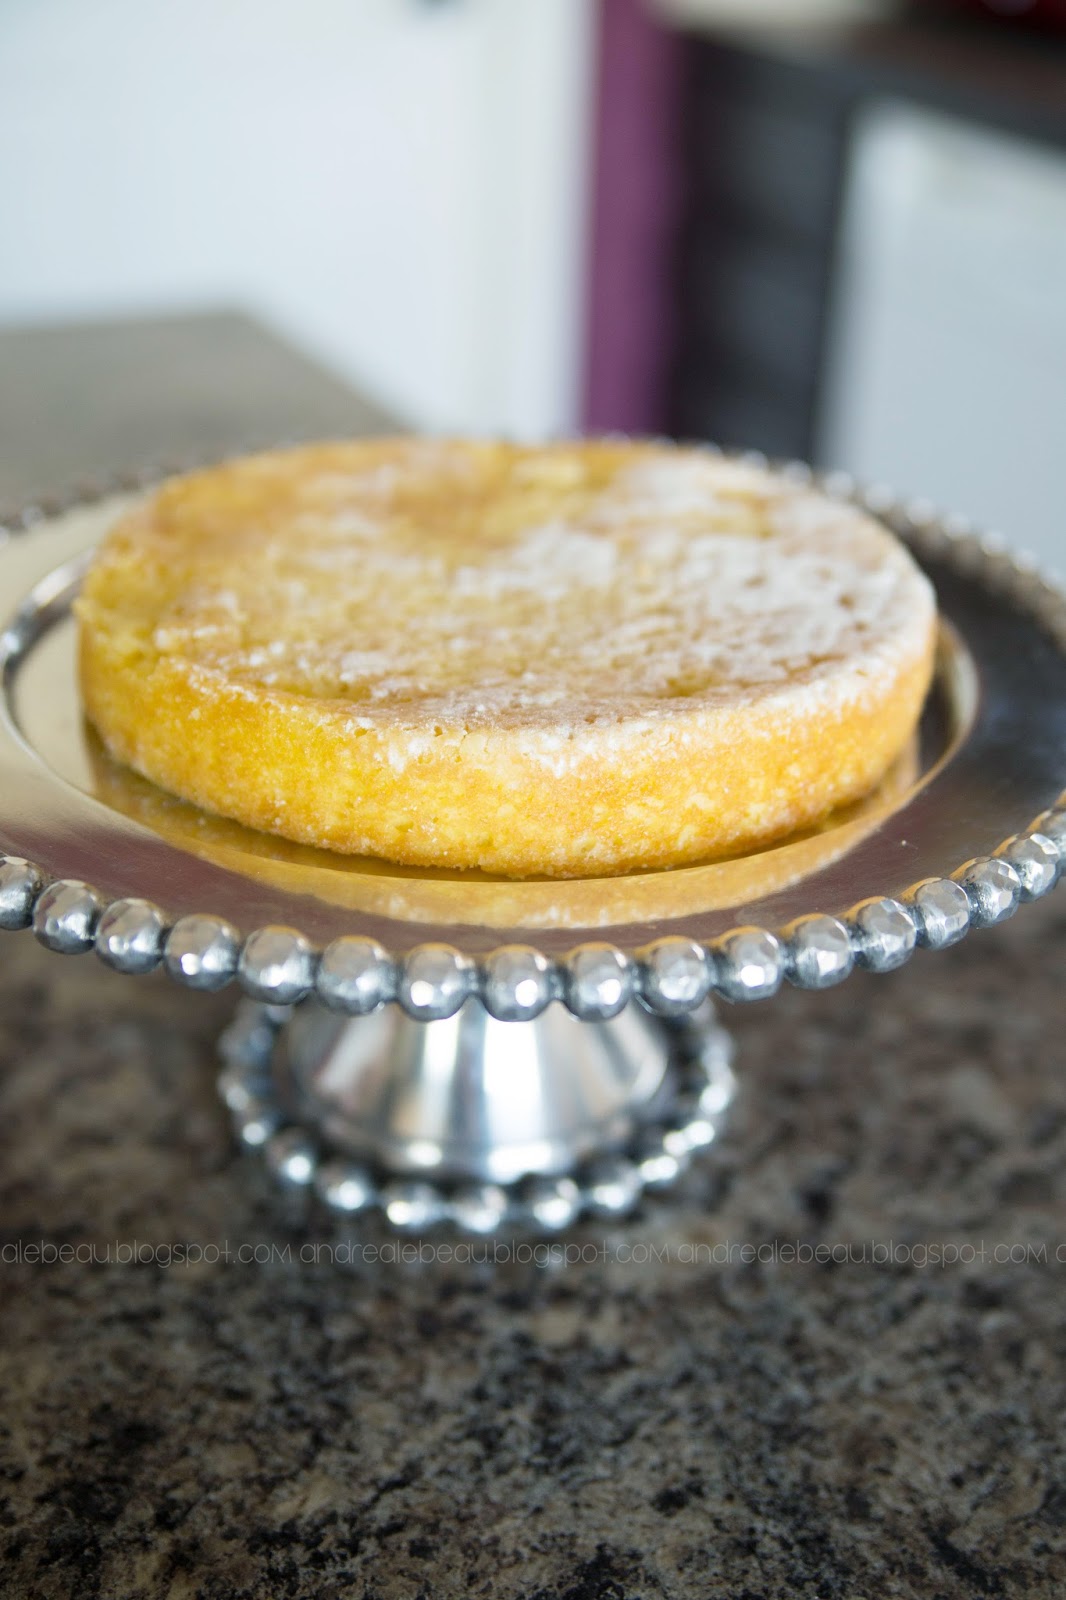
The Best Damn Naked Cake

I used to be fat. Real fat. Being that I once was fat, the fat girl inside of me has never gone away. She loves cake. She may have eaten a second piece of this cake yesterday when no one was watching. 

I like pretty things. Shiny things. I'm a girl. Girl + fat girl = cake. The math is so obvious.

This cake is easy. It looks impressive and you barely lifted a finger. Try it. Impress that bitchy mother-in-law. 


Yes, I used store-bought cake. Get over yourself. 


Be sure that your children are climbing into all of your cabinets and pulling out as much shit as is humanly possible. This is key to making this delicious cake.


Make the cakes as directed. I used 8" round pans, and filled only halfway. Take each layer out, let cool, wrap tightly in Saran wrap and freeze overnight. 


Pull your cakes out about an hour before you want to frost. Unwrap & let defrost. 


Place layer one on your cake plate. Be sure to put the part of the cake that looks the least disheveled in the front. Hide the mess in the back. Drop a big ass blob of frosting on layer one. Spread. Duh.


Drop on layer 2. Big ass blob. Spread.


Layer 3. If I have to tell you what to do next, you're too stupid to bake a cake. Read a dictionary instead.


This is optional, but you'll want to do this step. Slap some powdered sugar on the sides of your cake. This will mask your shit storm. It will cover up all of the places where little bits of cake flaked off.

Oh, and clean up your cake plate. We're not animals.


Top with whatevs. I saw a naked cake the other day with just the top of a pineapple on it. I chose strawberries and blueberries because #murica.


Be sure and take an artsy picture of your cake and send it to people. If you don't Instagram it, it didn't happen.

Tag me on Insta if you make this pretty thing. I love seeing people try my stupid, easy recipes, and pretending like it was really difficult. Ain't nobody gots to know. 

Happy Independence weekend, y'all!


© andrea lebeau. Design by Fearne.